
“Shell” we begin?
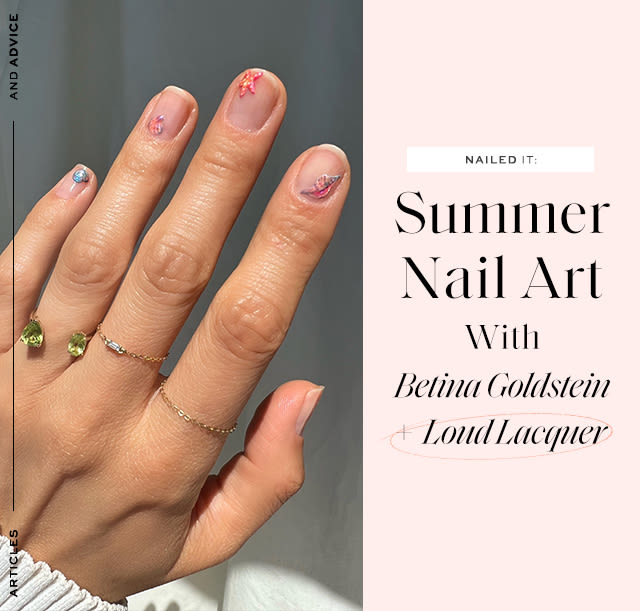
Welcome to the second installment of our 3-part series featuring the intricate and delicious handiwork of nail artist Betina Goldstein. (Here’s part one, if you missed!)
For this quintessential ode to summer, Betina naturally turned to the beach:
For this quintessential ode to summer, Betina naturally turned to the beach:
"
This collection transported me to summer trips to the beach. As the seashells sit on the ocean floor, the sun reflects a translucent opulence over the shells, making their colors come to life.”
FROM BETINA, WITH LOVE
Step 1: Using a thin brush tool and white polish, draw and fill in the shape of the shell.
Tip: Using white as a background color allows the sheer glitter polishes to pop.
Step 2: Using “Coachella” and a thin brush tool, cover the entire shell shape.
Tip: When working with glitter sheer polishes, you can layer until you achieve desired color.
Tip: Make sure each layer is dry before applying more polish.
Step 3: Use “Sequoia” and thin brush tool to add color and dimension.
Tip: There is no wrong way to do this – each shell is unique.
Step 4: Use “Napa” to trace the shell and add the details, including the ridges.
Step 5: Go in with “PCH,” tracing the outline of the shell, giving it more dimension.
Tip: if you want to soften any hard edges, go over them using “Coachella” and gently blend.
Step 6: Apply Top Coat.
You can do the same shell on every nail or play with different shell shapes.
Follow along, as she takes Free People’s Loud Lacquer collection to new heights (or depths):
More To Read
RUN CLUB
A Mini-Massage In A Bottle
Roll on, relax, recover.
FP HOROSCOPES
Mercury Retrograde is O-V-E-R!
Just in time for the summer solstice…
BOXING 101
Trust Us, Heather Hardy’s Workout Is A Real KO
A routine with Everlast-ing benefits…