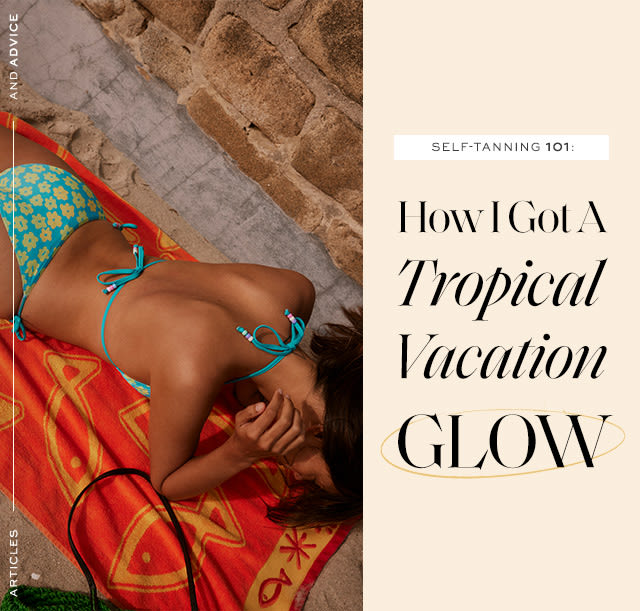
With the perfect, organic self-tanner.
It happens every winter.
The chill of the air, frigid winds that make me feel as though I’ll get swept away, and of course, the lack of warm sunlight. Which, in turn, means my summer tan eventually fades and I’m left feeling (for lack of a better term) less-than-radiant.
I admit, I’ve never been one for any type of false tan. The fear of bright orange streaks, splotchy patches missed from not blending properly, or chunks of glitter staining my clothes or sheets haunted me. Self-tanner was an absolute hard “no” from me. And tanning beds, obviously, are so 80’s.
It wasn’t until I overheard FP’s beauty team sing the praises of Luna Bronze that I finally felt compelled to dip my toes into the proverbial self-tanning pool & discover how to effectively sunless tan. Maybe there was a bronzed version of me out there — all glow-y and sun-kissed — that could exist in the present. Feeling the chill of winter doesn’t mean I can’t look like I just returned from Ibiza.
Luna Bronze was described online as “tanning, minus the sun,” but I was skeptical of the Australian brand’s lofty claims. How would it stack up against good ol’ vitamin D? What sold me was their commitment to quality formulas — the whole line is made from up to 99% organic, natural and naturally-derived ingredients, including DHA, which is what gives you that buildable glow.
I opted for the mousse (also on offer: a self-tanning lotion, a colorless serum, and moisturizer), boasting 12% DHA, the deepest formula they have. Why walk when you can run, right?
Surprisingly, the product description sounded decidedly spa-like — a far cry from the self-tanning products that populated the shelves of my high-school friends.
How to Apply Luna Self-Tanner
The directions, meanwhile, seemed par for the course in the tanning realm, so I dove in: dry brushing, cleansing and exfoliating my skin. Then, I applied the mousse with a self-tanning mitt in circular, sweeping motions across my body. The mousse has a golden tone, so it’s easy to discern where it’s being applied. Any extra product I dabbed on my face, elbows and knees (pro tip: these areas are particularly susceptible to absorption).
After, I was prompted to let color develop over 1-6 hours (color, they promised, would continue to deepen for 24 hours), rinsing once my desired hue was achieved.
Optimal Self-Tanner Glow Tips
Now, full disclosure: as someone who had avoided self-tanner for years, I erred on the conservative end of this estimate. After I applied the caramel-tinged mousse over my body, I tidied my apartment, cooked dinner, and, after about two-and-a-half hours, hopped into the shower and gave myself a liberal rinse.
I looked immediately more golden and the blemishes on my face were somehow blurred. However, it wasn’t until the next day that I noticed – and appreciated – the warm color that developed.
It was a natural looking tan! Free of shimmer! And decidedly un-orange. My aversion to self-tanner had finally been reversed.
So, stick a tiny umbrella in your hot chocolate, because that summer glow is here to stay.